Time Tracking for monday.com
The purpose of this app is to track time spent working on items on your monday boards. The app will log the time for different users separately, so you can keep track of your team's productivity.
Installing the app
To install the app, follow these steps:
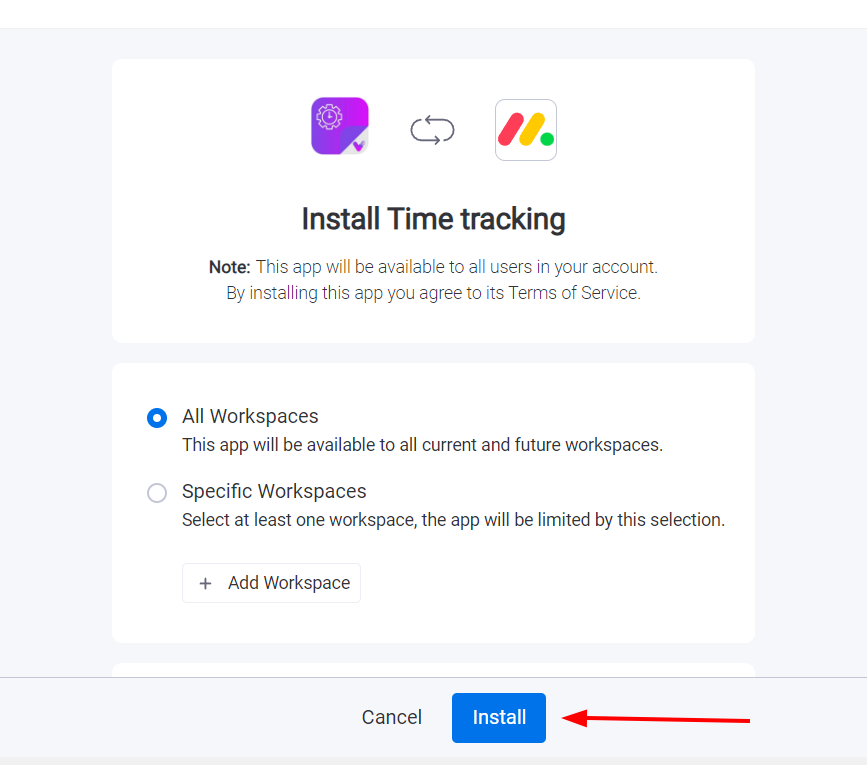
- Click on the "Install" option on the monday marketplace
- Select whether you want to install the app to all of your workspaces or just one selected workspace, then click "Install" again.
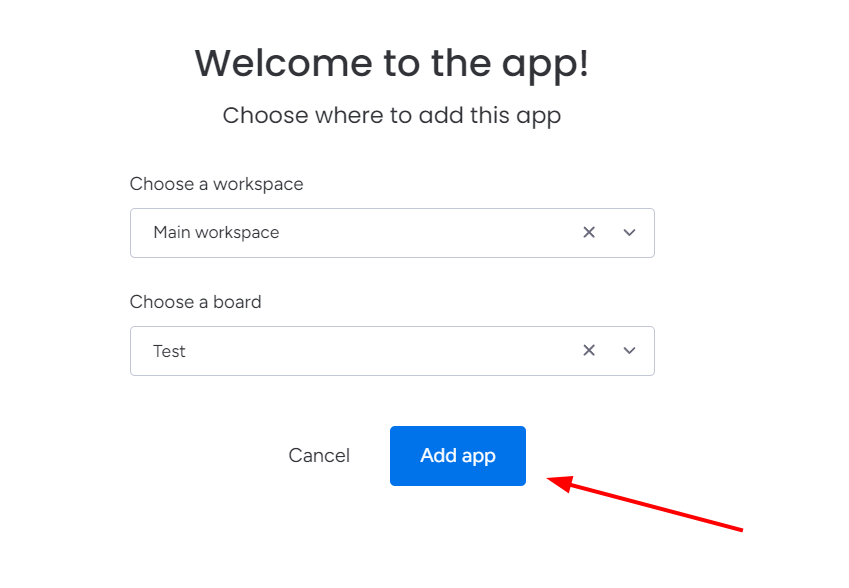
- Finally, select a workspace and a board to get started.


Getting Started
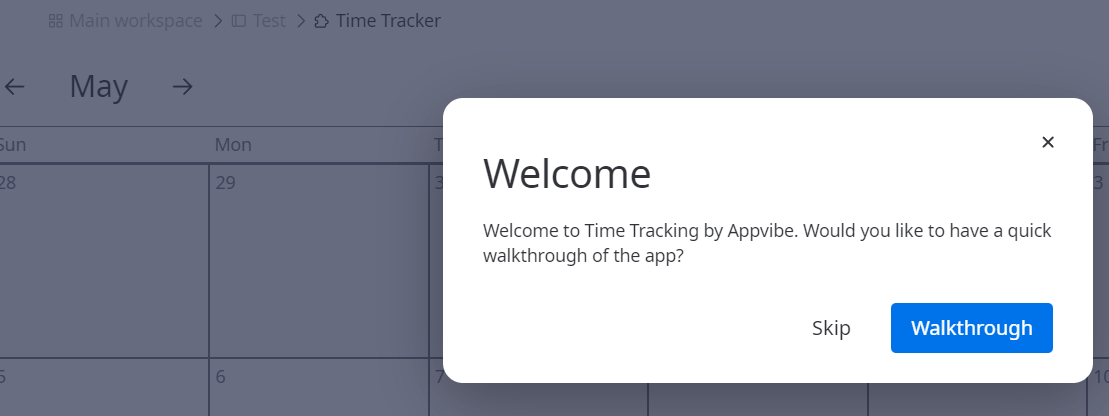
When you first install the app, you will be offered a walkthrough which will guide you through the app.
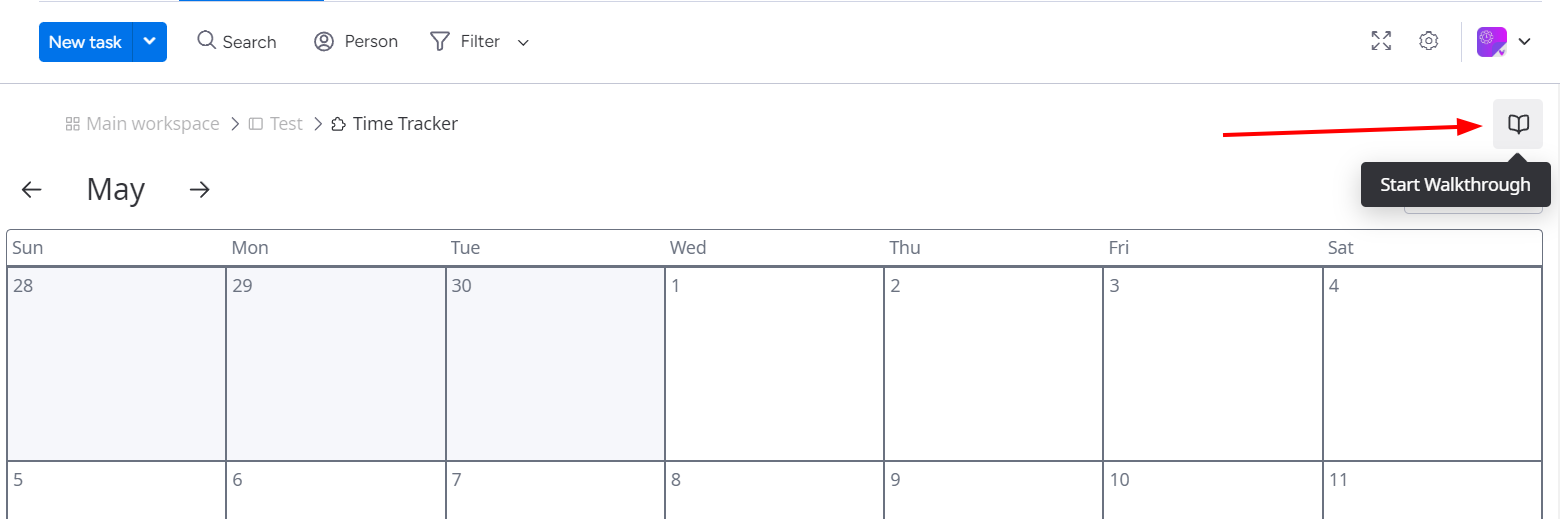
You can always access this guide later as well by clicking on this icon:
Using the Admin Panel
You can find the Admin Panel in a separate board view:

Here you can:
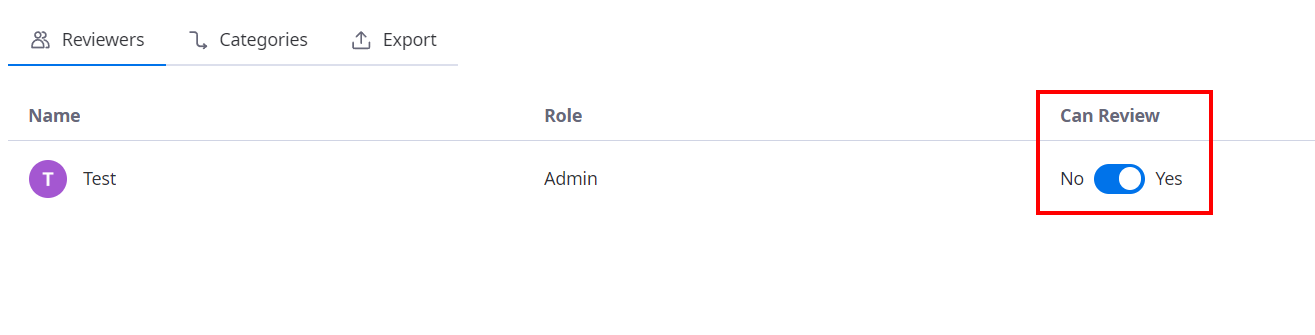
- Control which users can review (approve and decline) time logs:
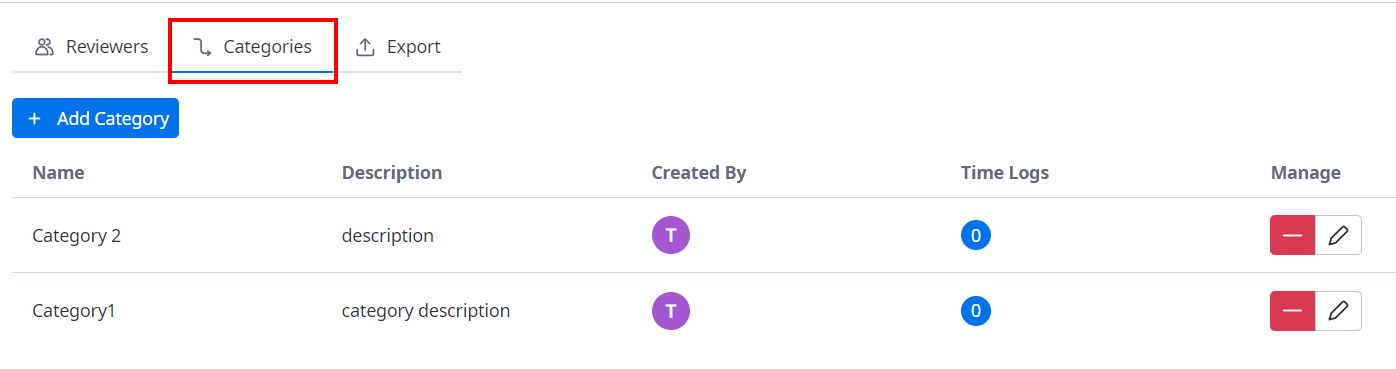
- Manage your categories:

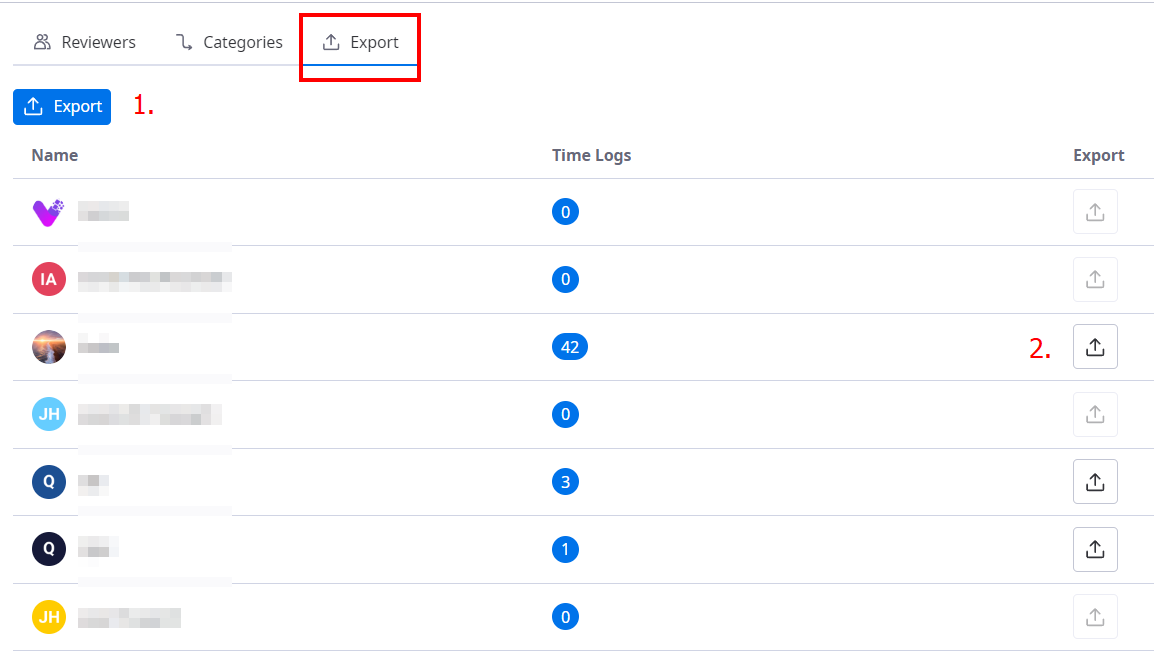
- And export time logs. The first button will export all the time logs on the board. The second button will export the time logs for the specific user.


Logging Time
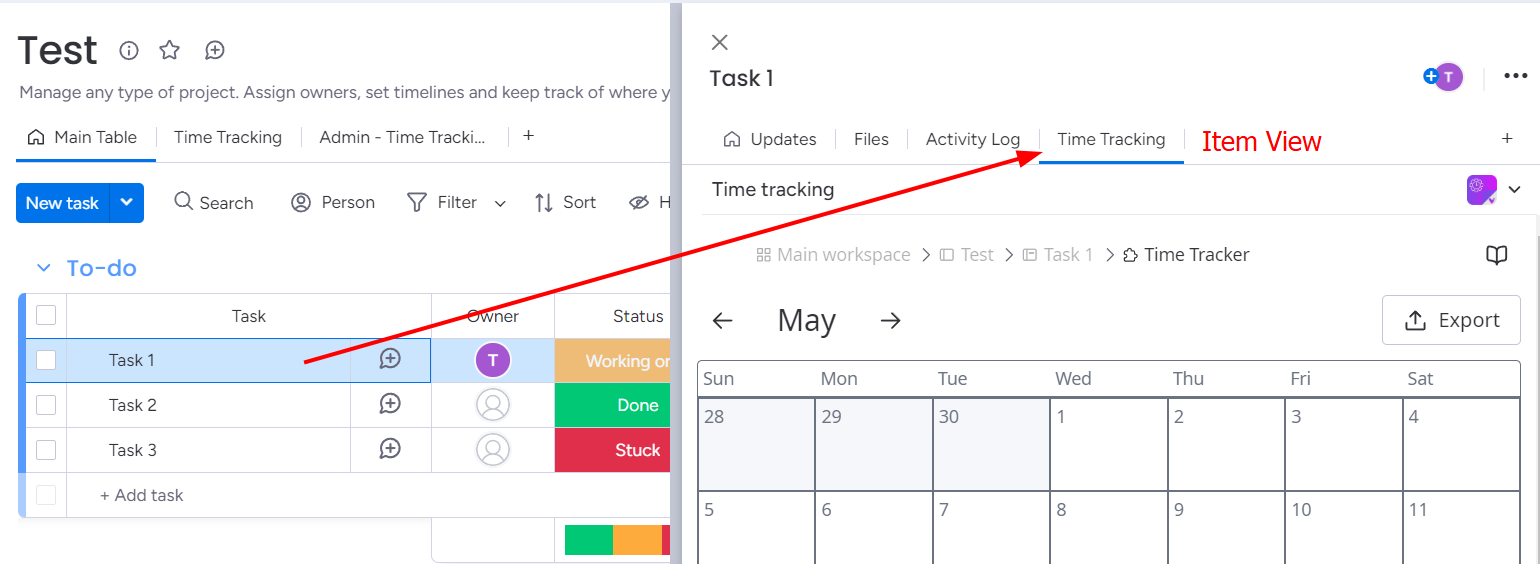
- To log time, open either the board view or item view of the app. The board view will let you log time to any item on the board, while the item view will only let you log time for that specific item.
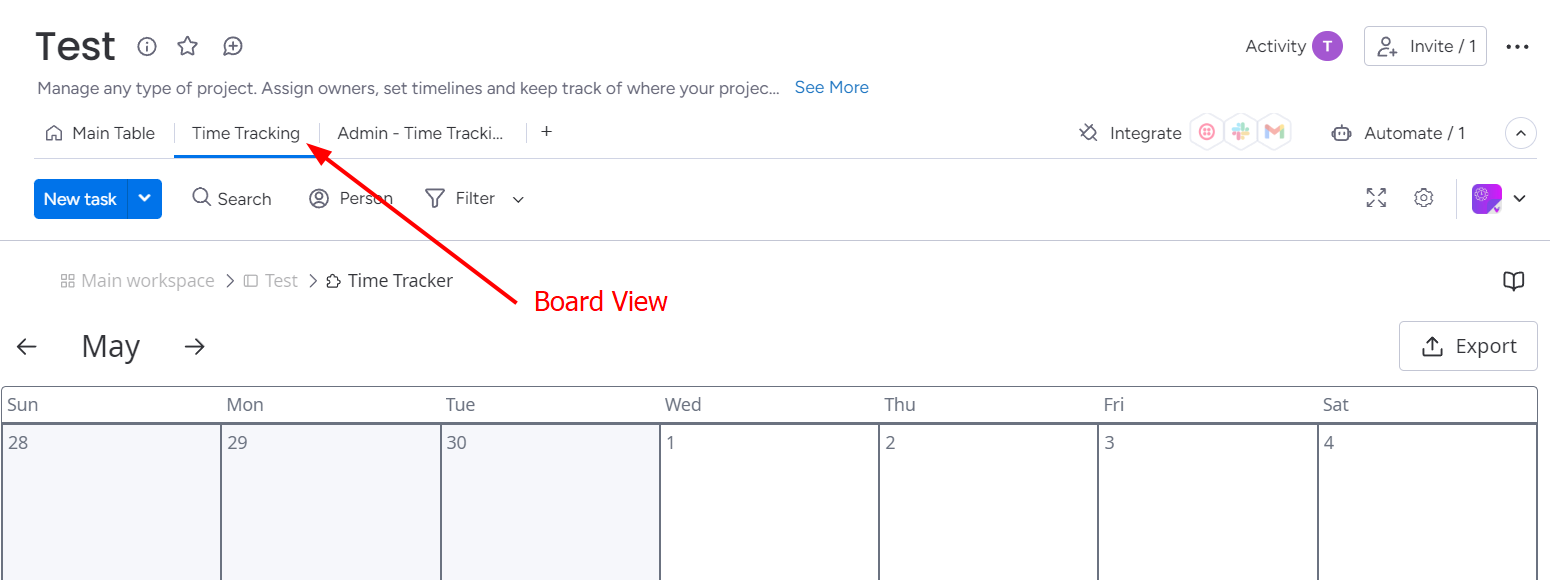

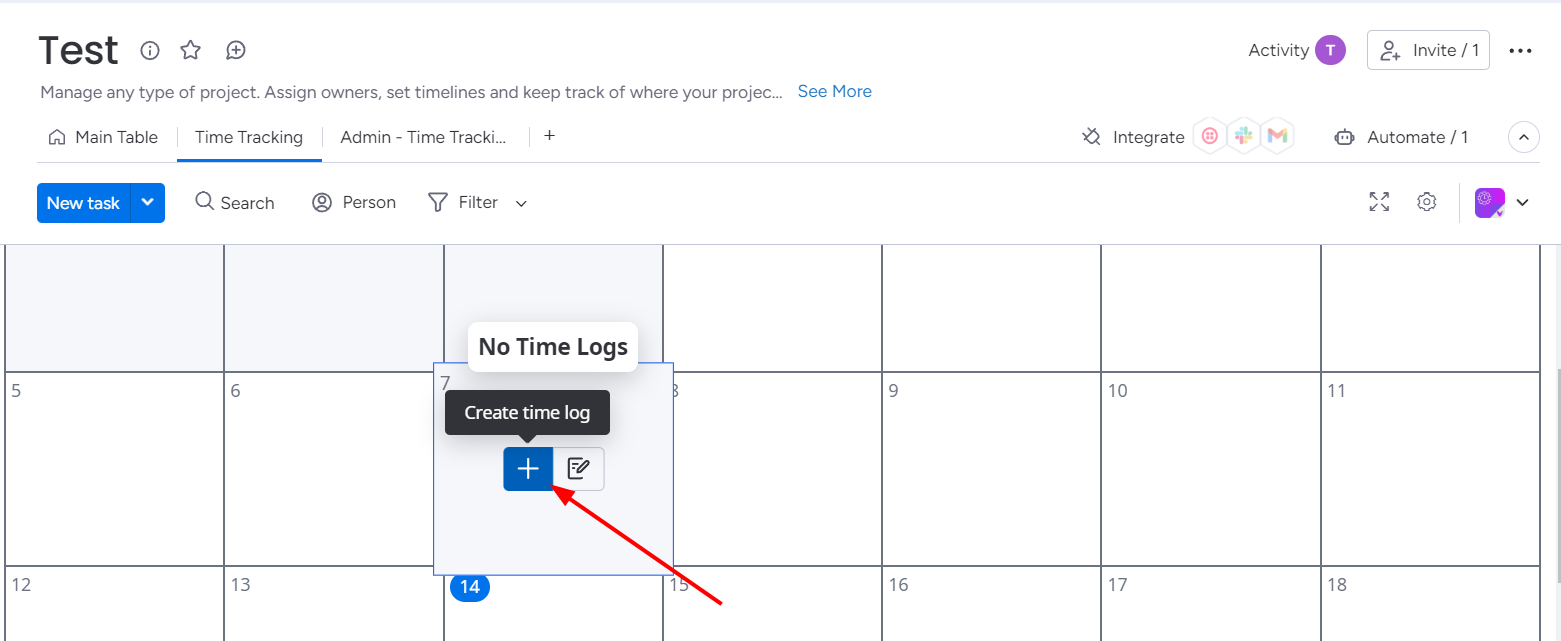
- To enter a time log, first chose the correct date on the calendar. Hover over the day, then click on the + icon.

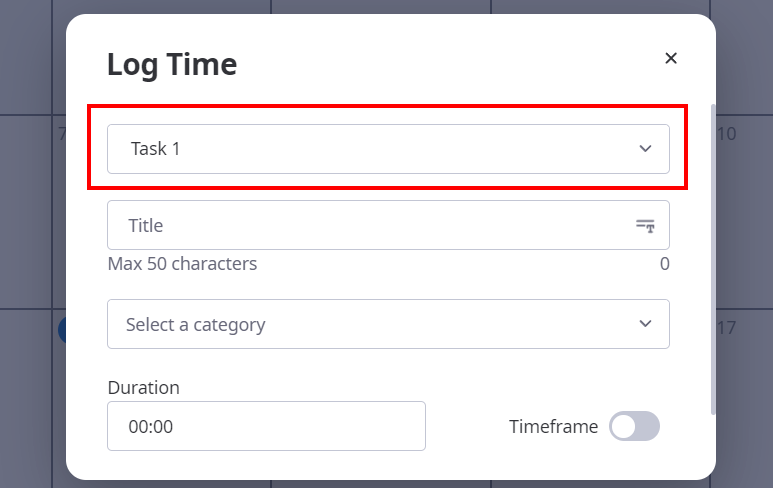
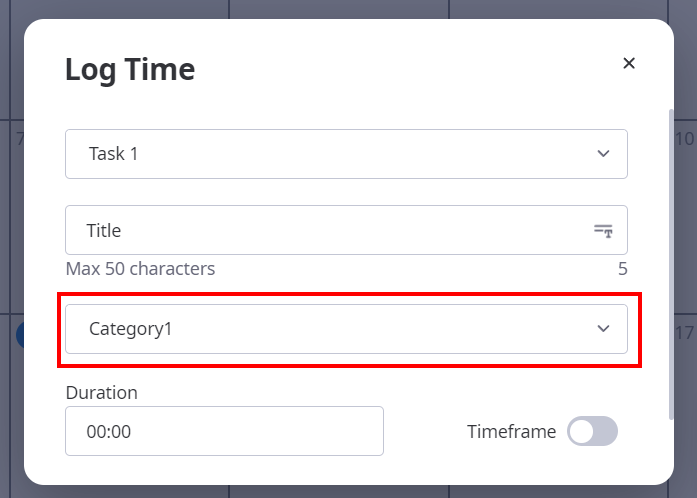
- Fill in the form. If you are using the board view, first, you have to select an item. If you are using the item view, this field will already be filled.
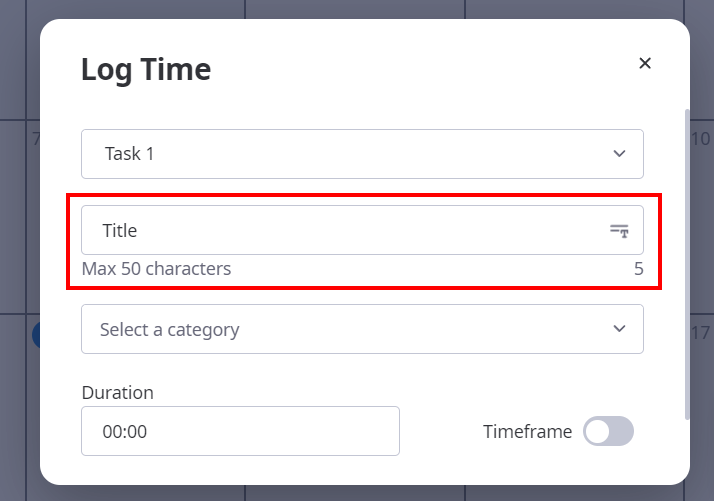
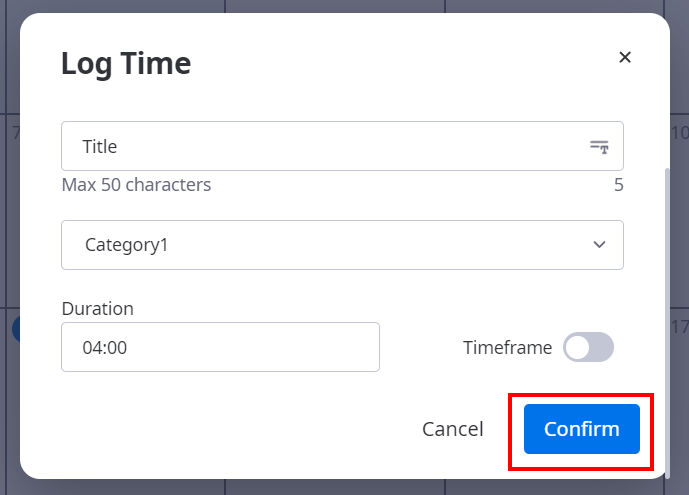
- Give a title to your time log.
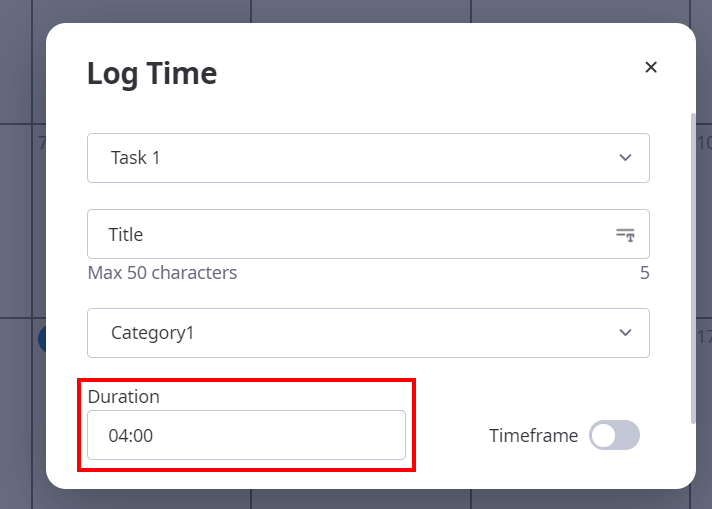
- Select a category.

- Enter the duration. You can choose between entering the number of hours, or entering a timeframe.
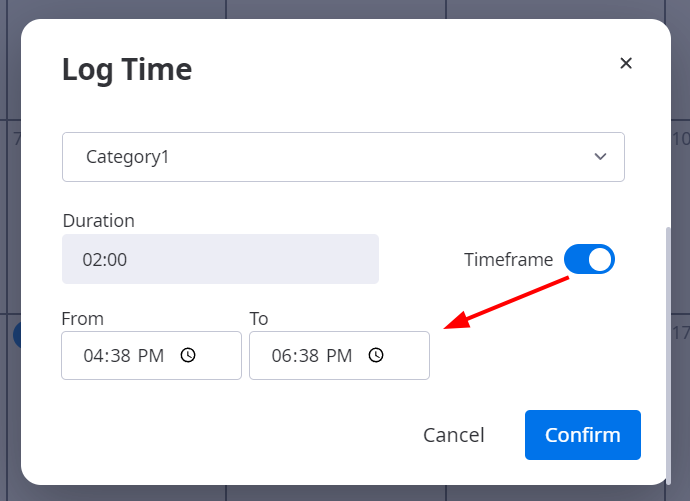
- When all fields are filled, click on "Confirm".


Viewing and Managing Time logs
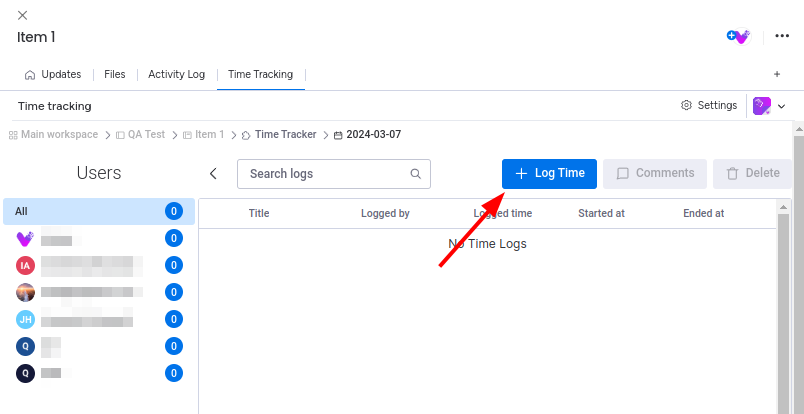
- To view and manage time logs, hover over the selected calendar day and click on the "Open Day Details" icon.
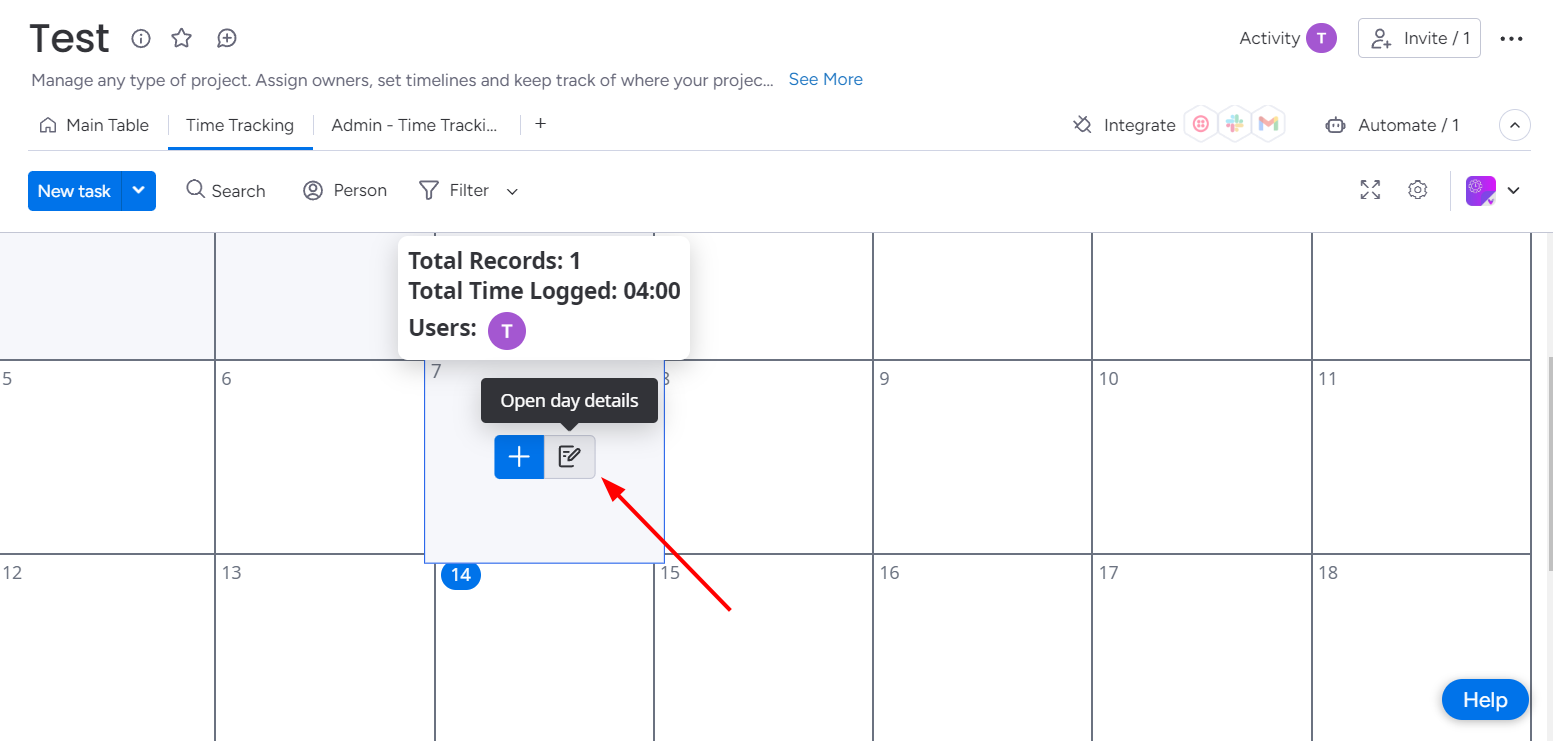
- You can log time from here as well by clicking the "Log Time" button and following the steps detailed above.

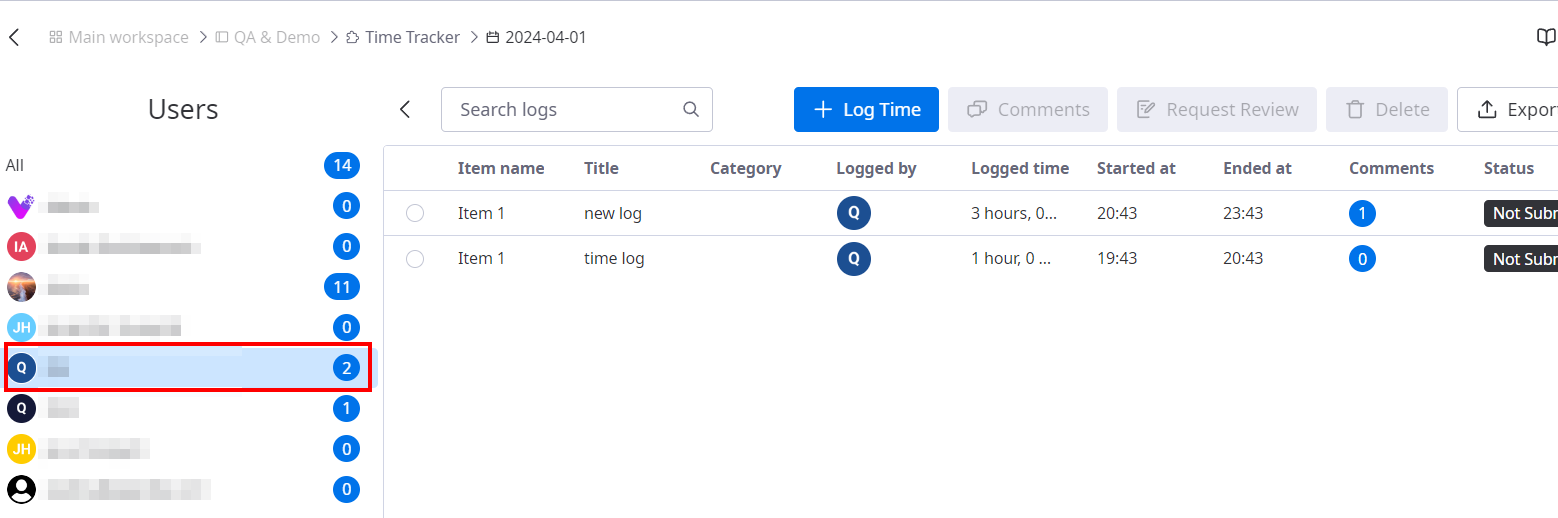
- From here, you can also filter the logs by clicking on each user in the side panel.
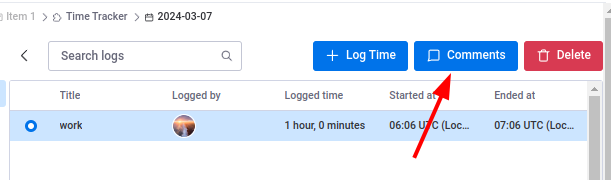
- To add a comment, select a time log and click on "Comments".


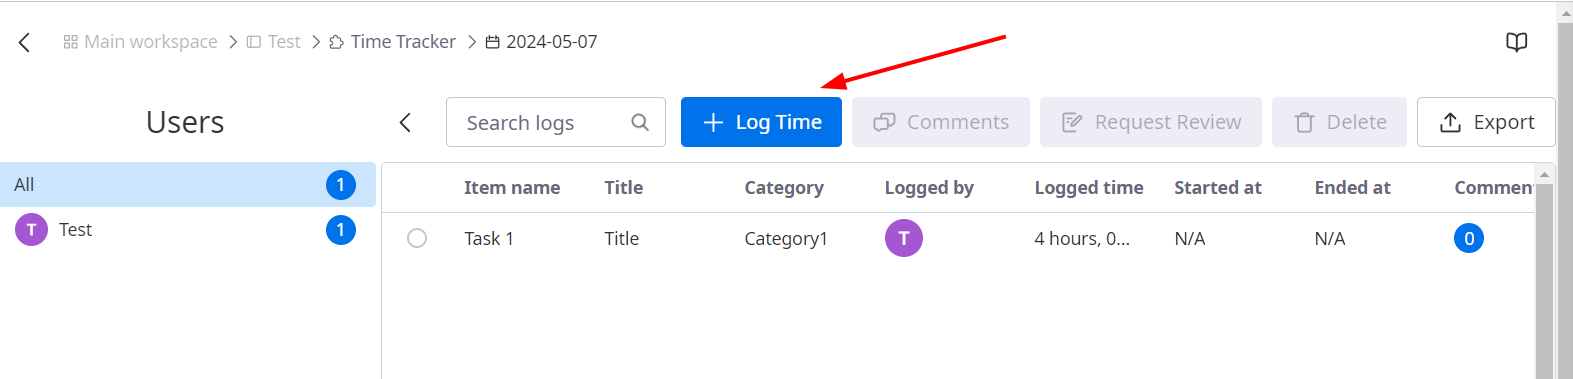


Then, click on "Log time".
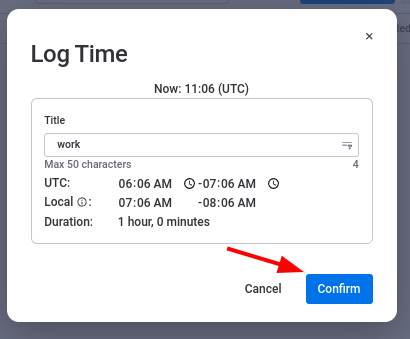
In the new window, enter a title for the time log, and fill out the start and finish dates. You will be able to enter the time in UTC time zone, but it will be also displayed in your local time zone.
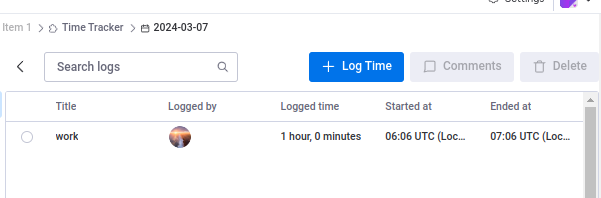
Once you are done, click on "Confirm" and the time log will be saved.
Commenting on time logs
To add comments to a time log, first select the correct time log using the radio button.
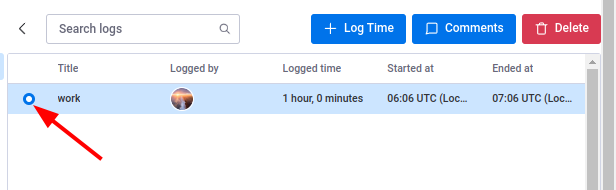
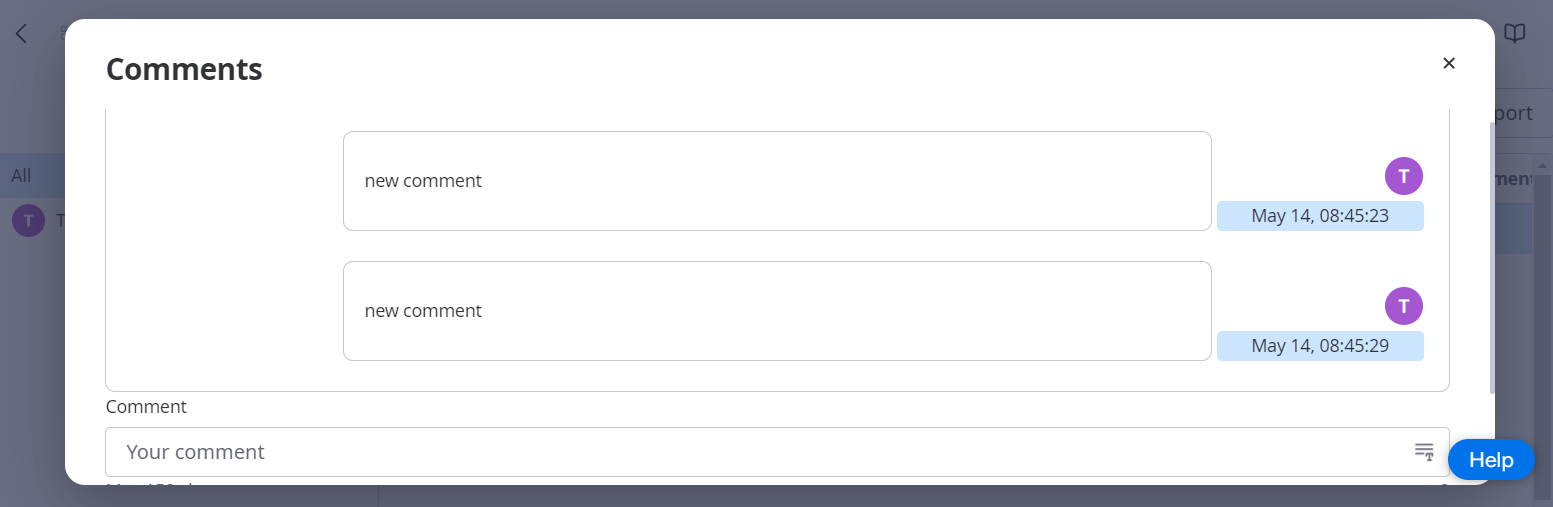
Then, click on the "Comments" button.
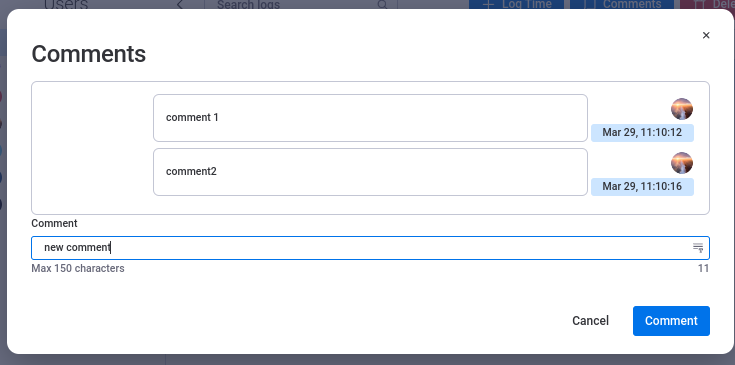
In the new window, you can enter comments, and see previously added comments.
Deleting time logs
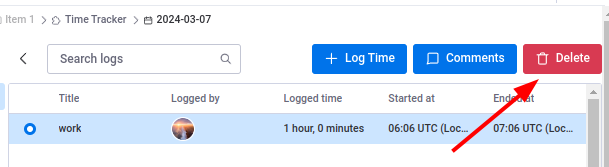
To delete a time log, first select the correct time log using the radio button.
Then, click on the "Delete" button.
Finally, confirm the action on the pop-up.
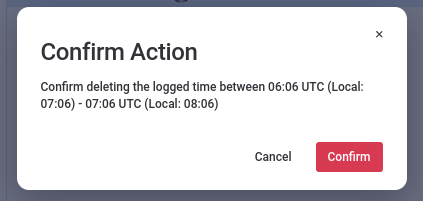
For security reasons, you can only delete your own time logs.
Approving Time Logs
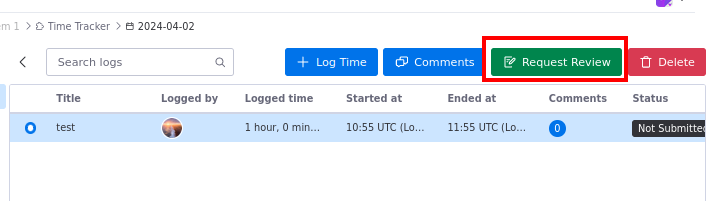
To start the approval process of a time log, select the time log, and click "Request Review".
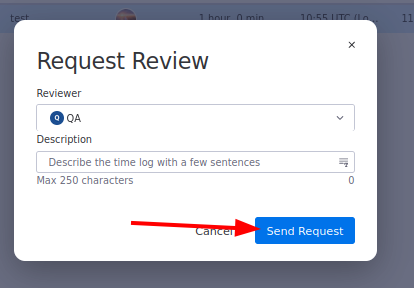
Select the approver, fill out the form, and click send request.
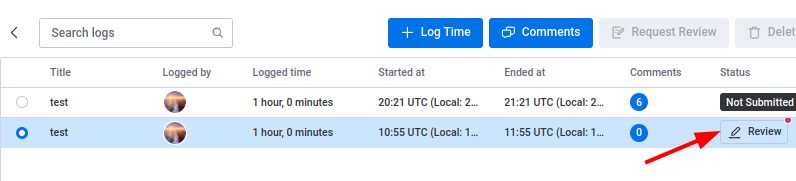
To approve or decline a time log that has been sent to you for review, click the "Review" button next to it.
Fill out the form, and then click "Submit" to approve or decline the time log.

What users can use the app?
The app can be used by Admins and Members. Viewer Users and Guest Users can't use this app.