Getting Started
Overview
Getting started with TimeVibe is easy — just install the app, connect it to your boards, and you’re ready to start tracking time right away. With a few quick steps, your team can begin logging time and generating insights effortlessly.
Installation
Below are the steps you need to follow to install TimeVibe in Your Monday.com Workspace
✅ Step 1: Make sure you’re a workspace admin — only admins can install apps.
✅ Step 2: Go to the TimeVibe app page: TimeVibe on Marketplace
✅ Step 3: Click Install and choose the workspace you want to install it on.
✅ Step 4: Approve the requested permissions so TimeVibe can access boards, users, and dashboards.
✅ Step 5: Wait for the confirmation that installation is complete.
✅ Step 6: That is it. The TimeVibe app is now
Adding Time withing a Workspace
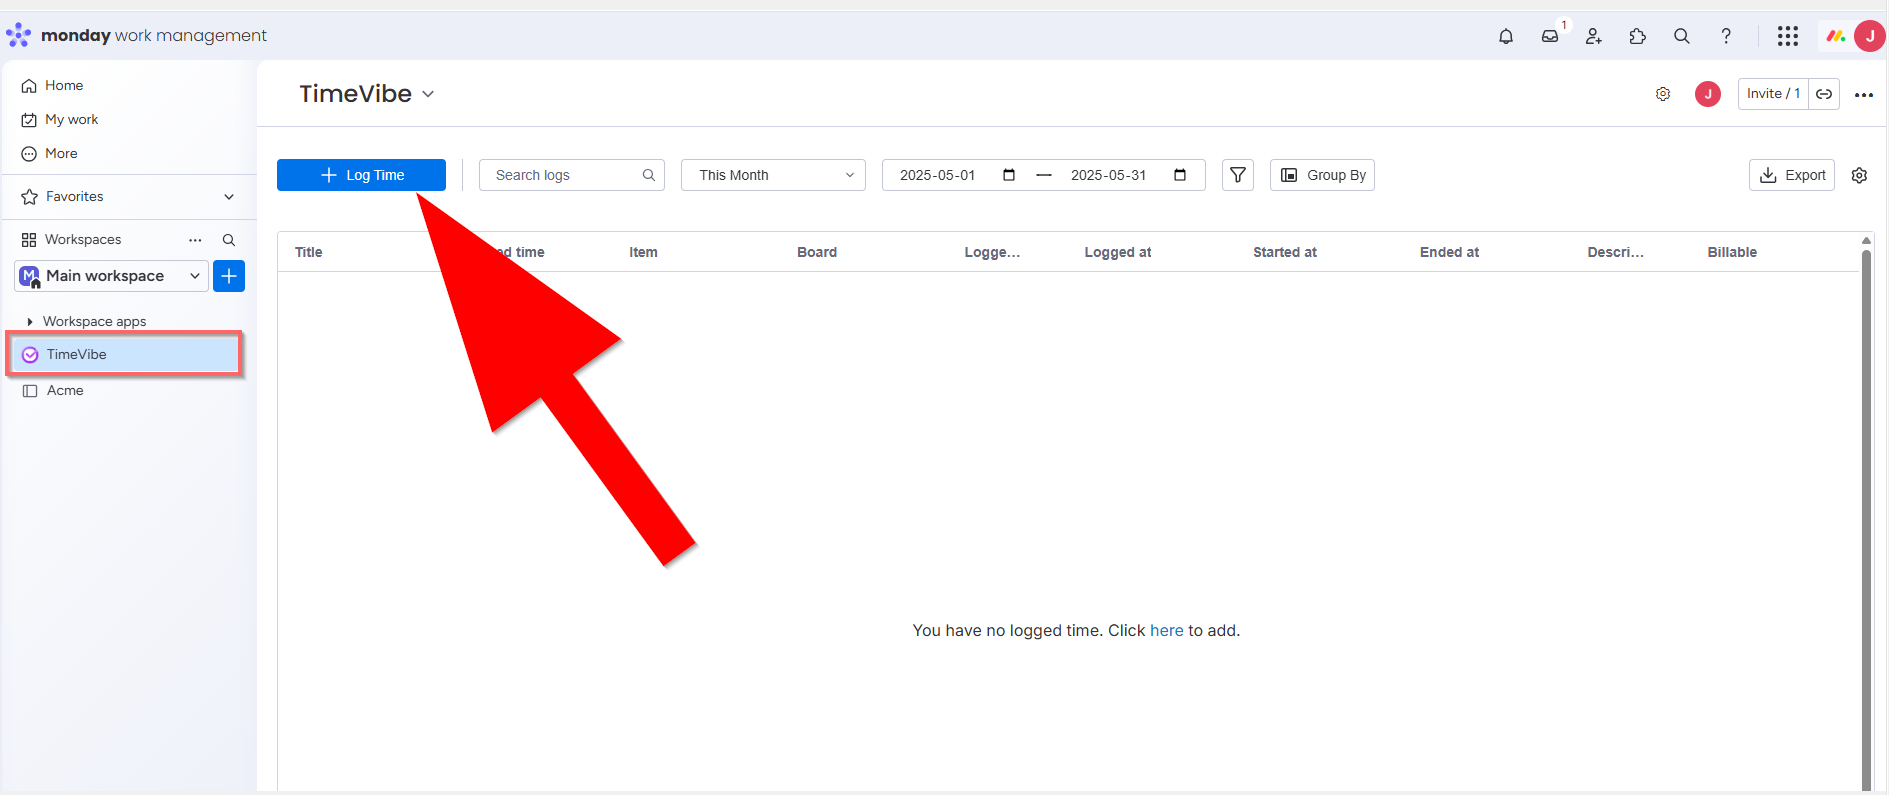
Click on the TimeVibe board in your workspace. This will load a screen with all your logged time for your workspace. To add time click on the + Log Time button. This will display an add time popup.
In the Log Time popup, you can add time for a specific item in a board.
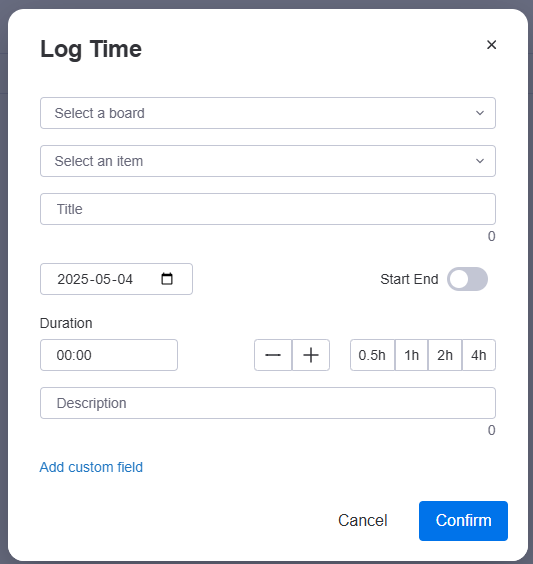
Details of each field is as follows:
Select a board: Select a specific board in your workspace
Select an item: Select a specific item for the board you selected.
Date: Date of time recorded. (Today's date by default)
Start End: Select if you want to add a specific start and end time.
Duration: Time spent for a specific entry. Use the "-", "+", "0.5h", "1h", "2h", "4h" for speed of entry.
Description: Description of time entered. (optional)
Add custom field: Click on here if you want to add a custom field. The custom filed can be a toggle, dropdown, or text field. Fields commonly added by our users are fields like Billable, Customer, Overtime, Approved, etc.
Adding Time for an Item in a Board
sfd