Test Management for monday.com
The purpose of this Test Management application is to create and execute tests in your monday.com account. The app has two main views: the board view and the item view. The purpose of the board view is to create, edit, and organize your tests, as well as to add steps that can be executed. The purpose of the item view is to execute these tests and record the results.
Getting Started
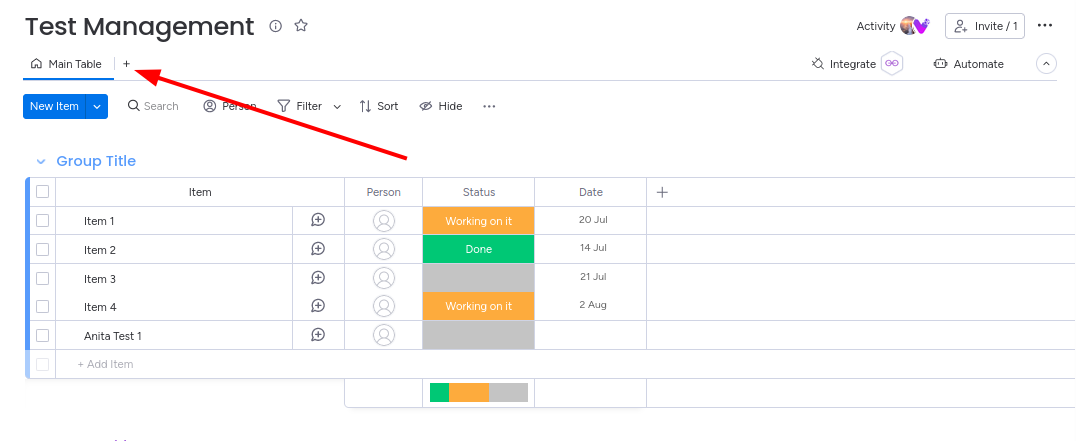
After installing the app, first, add it to your board view, by following these steps:
- Click on the + icon for your monday board
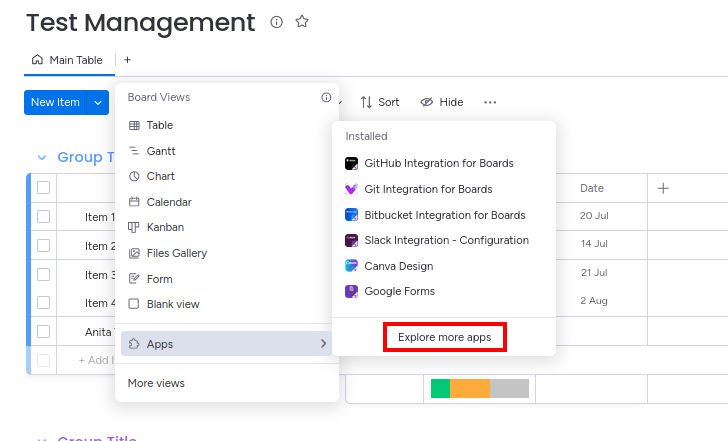
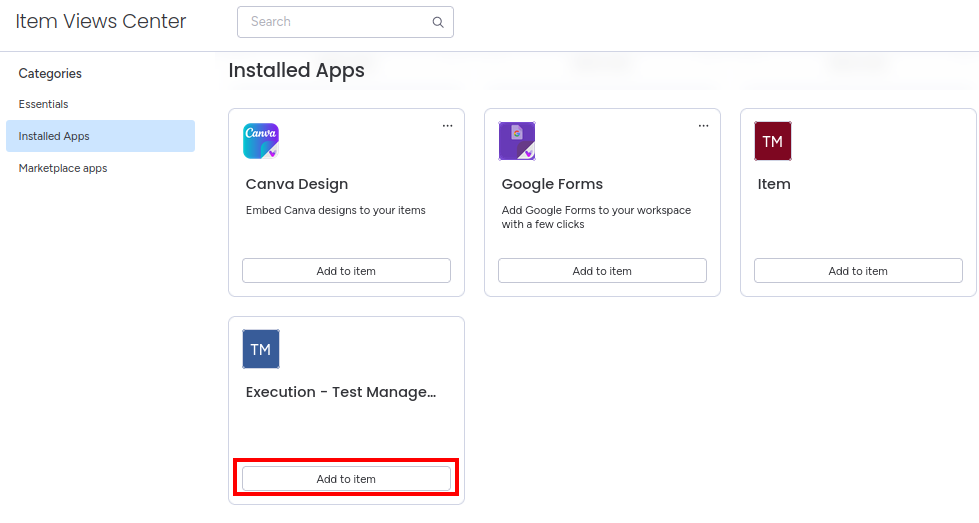
- Go to "Apps" > "Explore more apps"

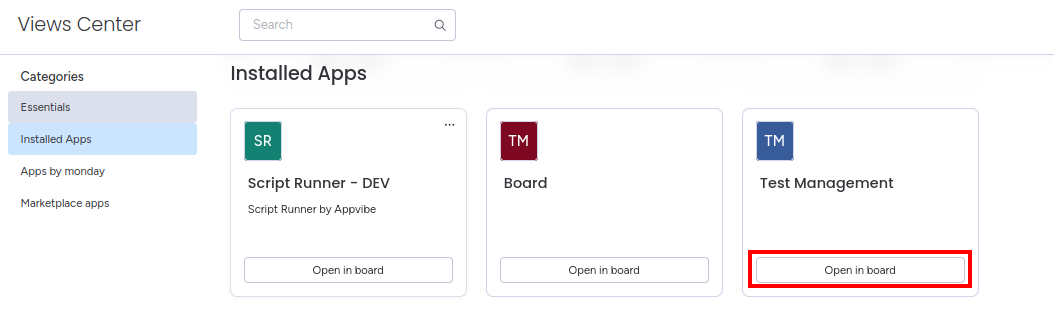
- Under "Installed Apps" find the Test Management app and click on "Open in board"
- Now the app is added to your board:


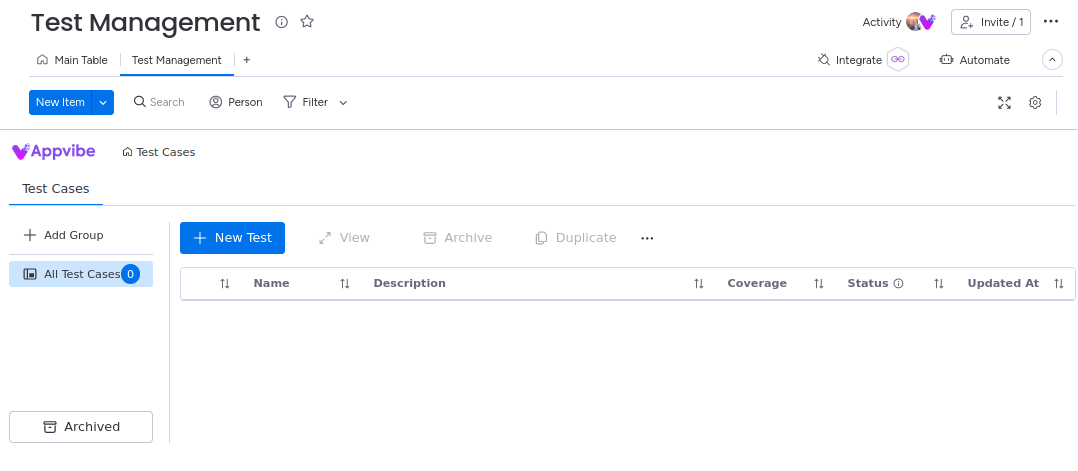
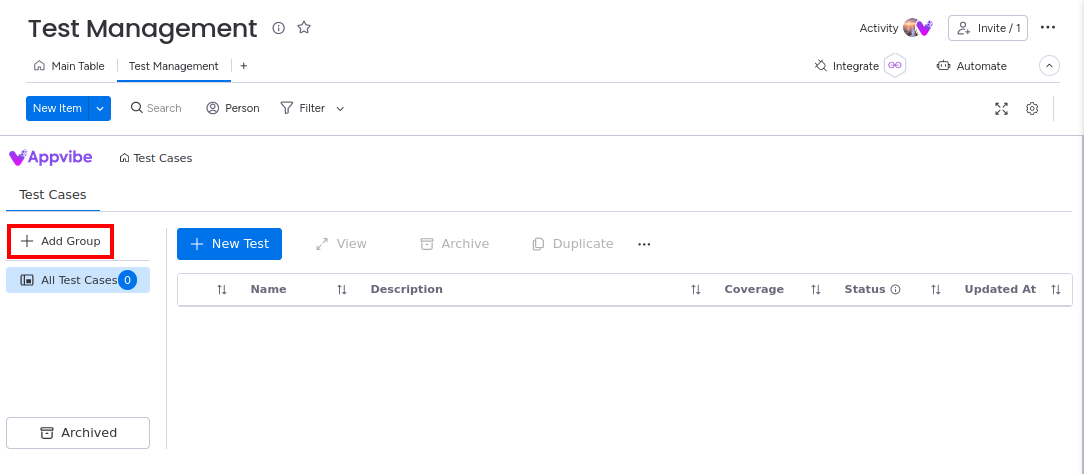
Create a Test Group
- To create a test group, click on "Add Group"

- Fill in the name. If you have already added test cases, you can select them from the dropdown.

- Click on Confirm to save.

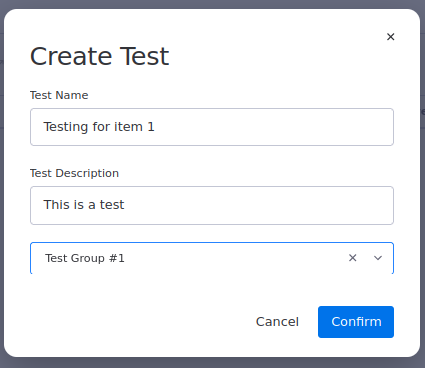
Create a Test Case
- To create a test case, click on "New Test".
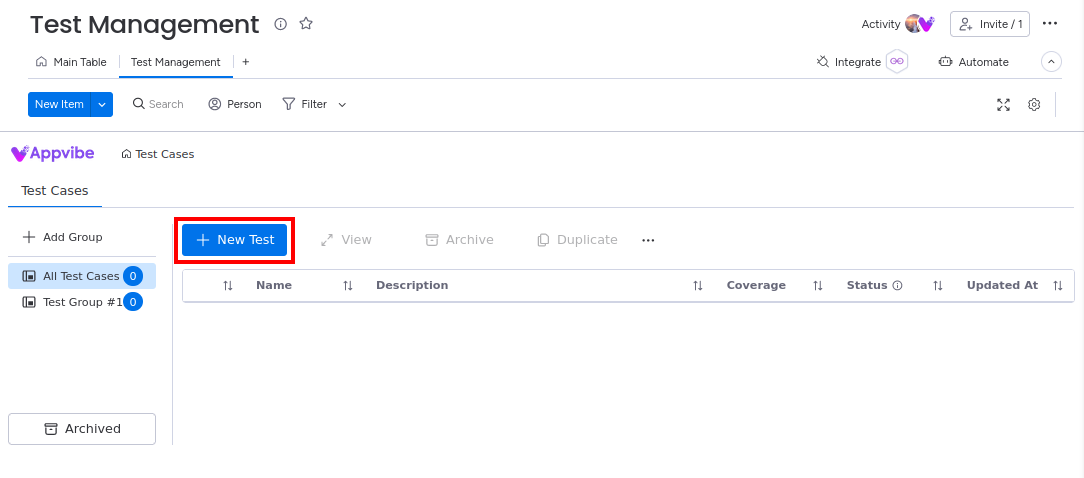
- Fill out the details. If you have already added a test group, you can select it from the dropdown.

- Click on Confirm to save.

Edit the test case and add testing steps
- Select a test case from the table by checking the box next to it

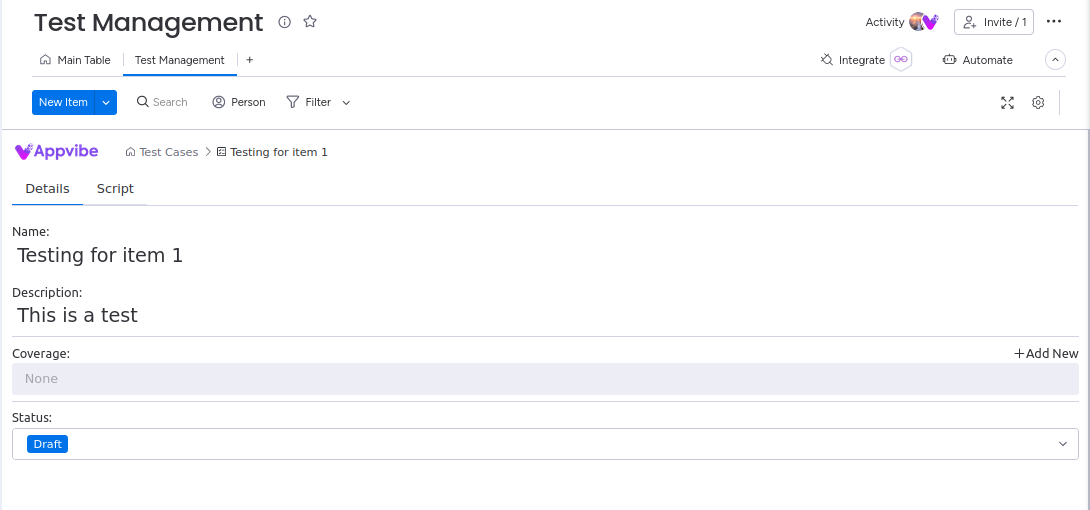
- Click on "View" in the menu
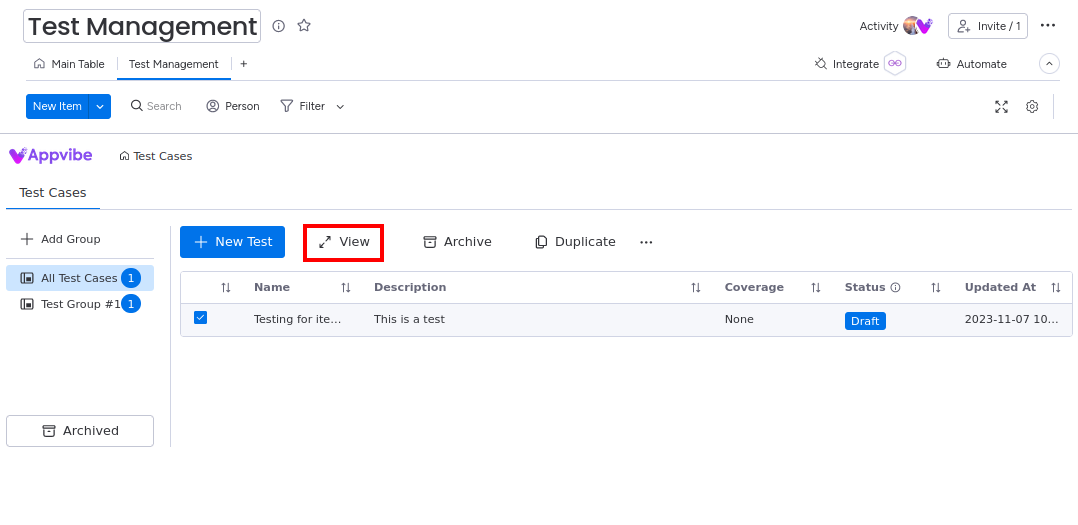
- Here, you can edit the basic details of the test. You can also edit the status of the test Draft/Approved/Declined. This can be used to signal to the team which tests should be used.

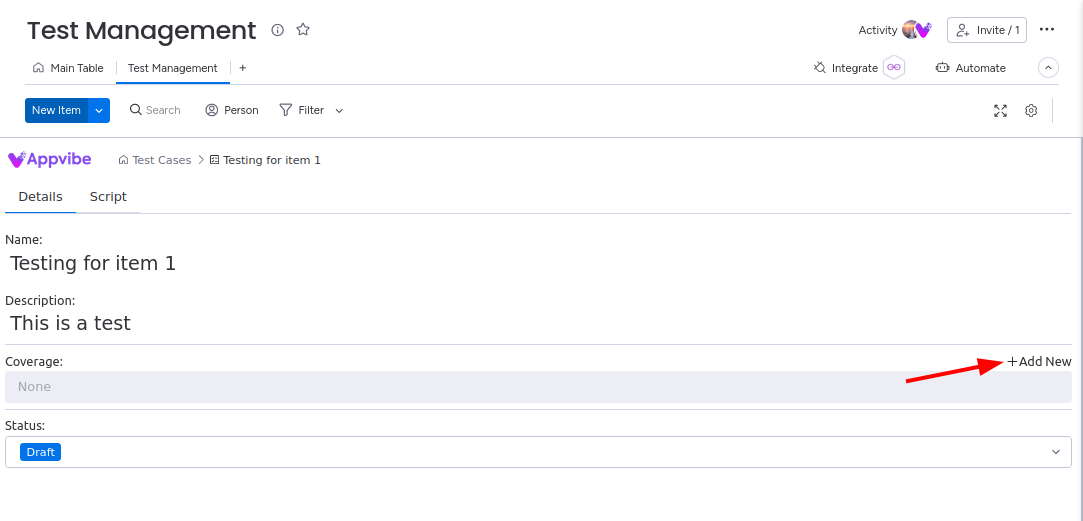
- Use the "Coverage" field to add tests to your monday board "Main Table". This will allow you and your team to execute the steps you add to the test. You can add multiple items to one test case.


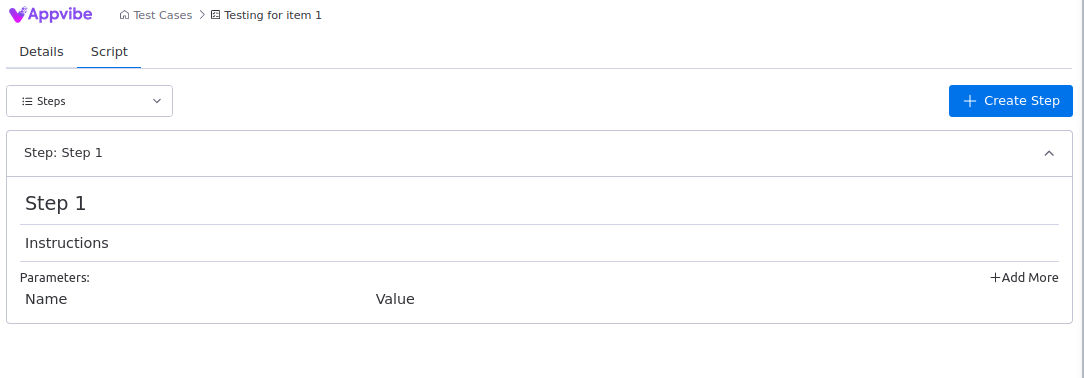
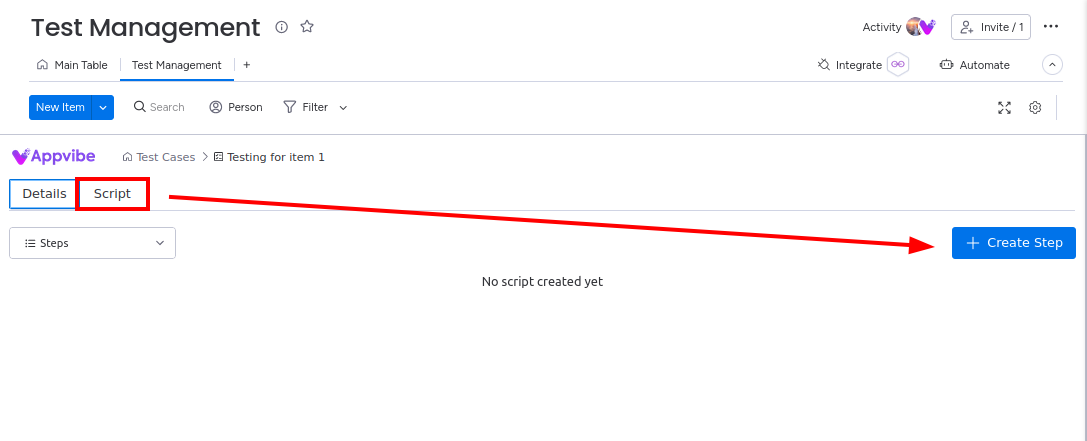
- To add testing steps, switch to the "Script" tab and click on "Create Step".

- Fill out the details of the testing step. Repeat it for as many testing steps you need.


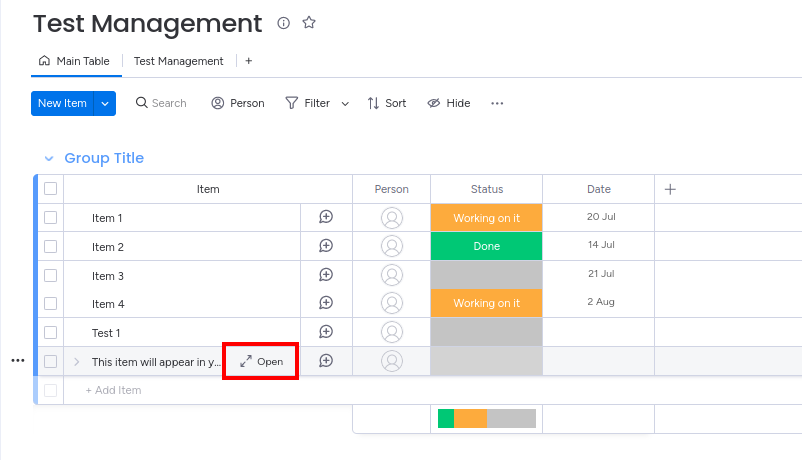
Using the Item View
Use the item view to execute the testing steps you added according to the previous instructions.
- Open the item you or a team mate has added from the "Coverage" field.
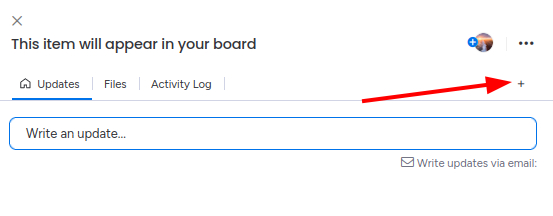
- If you don't see the Test Management Execution screen, click on the + icon and find it under the installed item views.


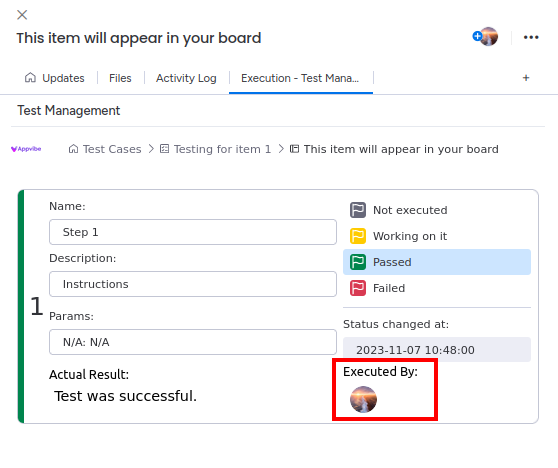
- On the execution screen, you can update the status of the testing step. You can also type in the actual result of your test.
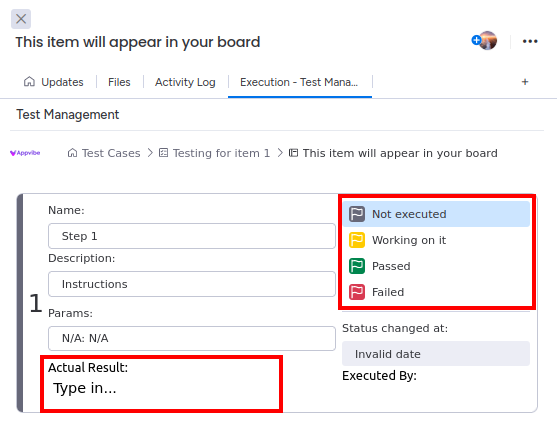
- When you execute the testing step, the app will record that you worked on it.


Release Notes
2023-11-07
- Initial release
No Comments