GitLab Integration for monday.com
The purpose of this GitLab integration is to connect GitLab repositories to your monday.com account. After installing the app, you will be able to see your repositories listed in your monday.com board view. You will also be able to search, filter, create repos, branches, or delete them.
Getting Started
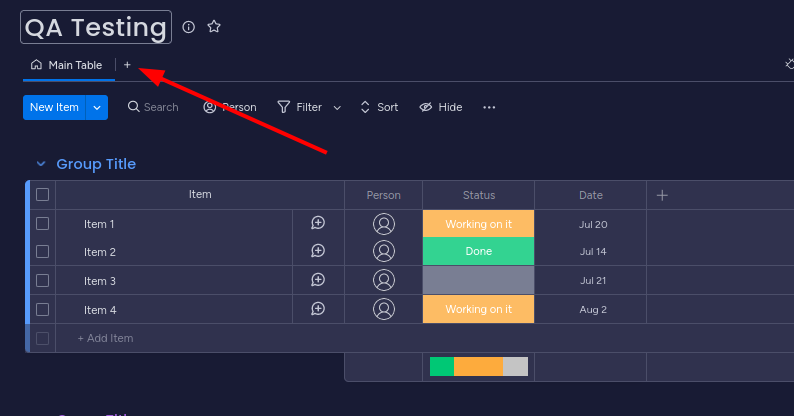
After installing the app, you can add it to a monday board by following these steps:
- Click on the + icon for your monday board

- Go to "Apps"

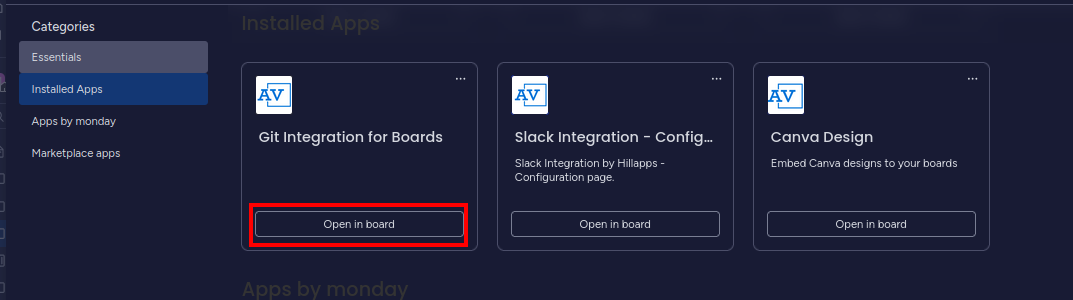
- Under "Installed Apps" find the GitLab integration and click on "Open in board"

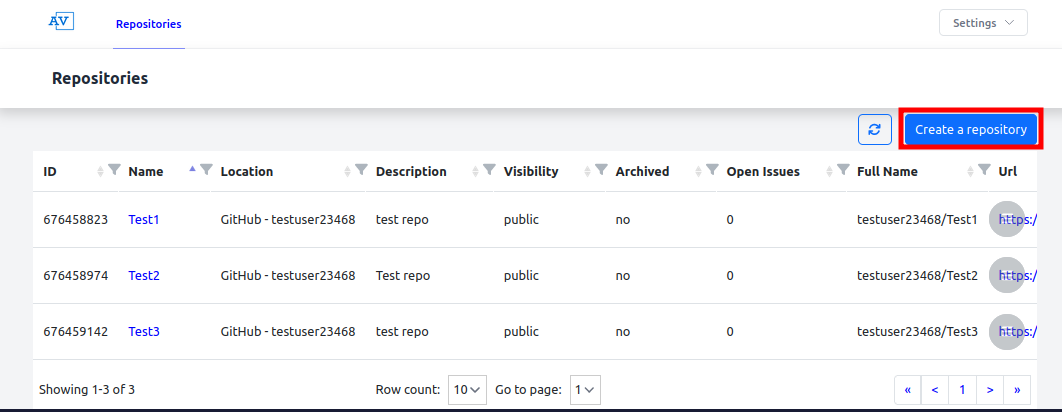
- Now the app is added to your board:


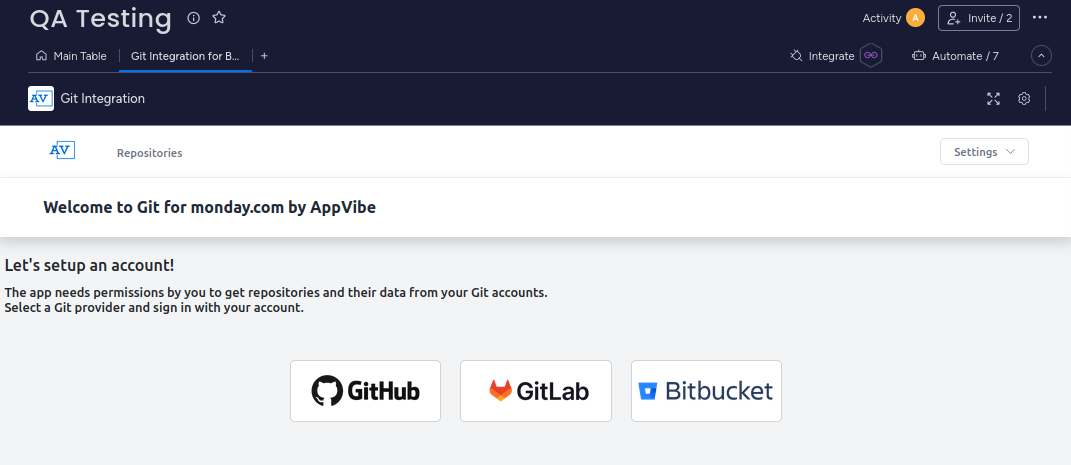
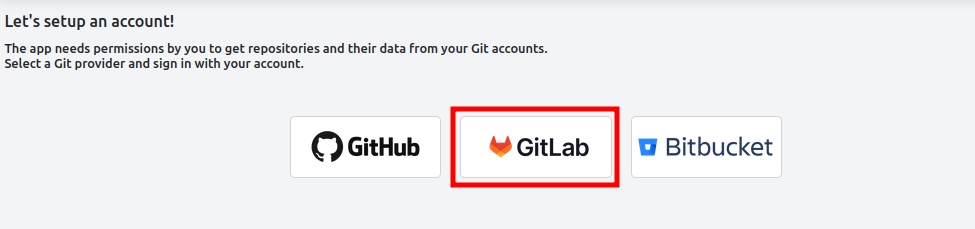
Connecting a GitLab account
To connect a GitLab account, please follow the steps below:
- On the configuration page of the app, click on "GitLab"

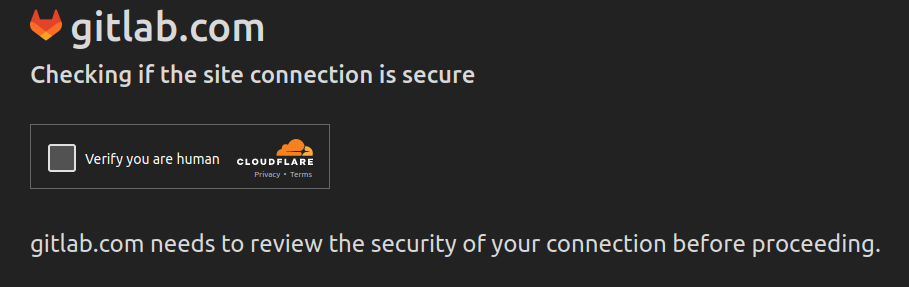
- A new tab will open, and you might need to complete the Cloudflare verification for GitLab

- Log in to your GitLab account
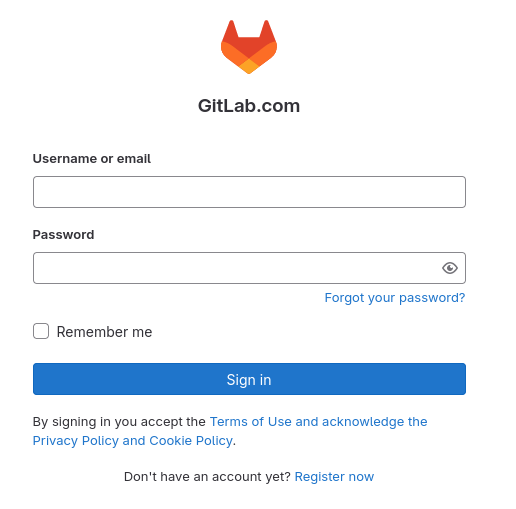
- If you see the successful authorization message, you can close the new tab


Creating a repository
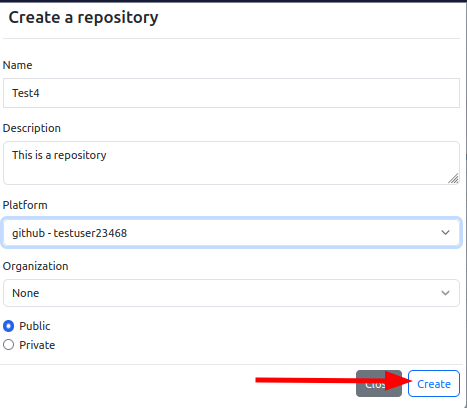
To create a new repository with the app, click on the "Create a repository" button:
Fill in the details, then click on "Create".
Performing repository actions
To perform actions on your repository, use the menu button on the right.
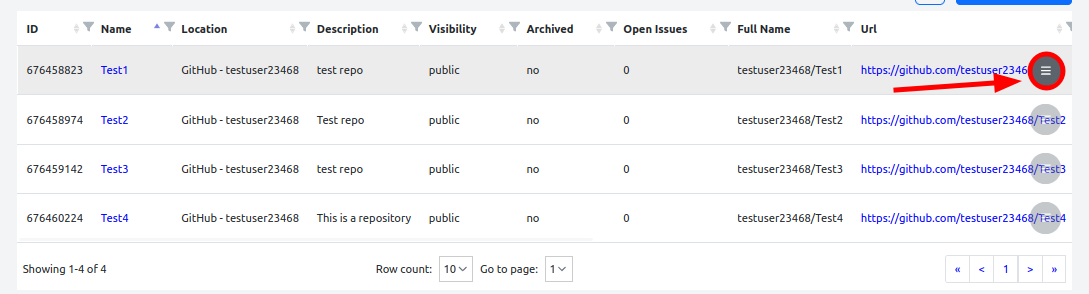

In the case of archiving or deleting the repository, you will be asked to type the full name of the repository to confirm the action.
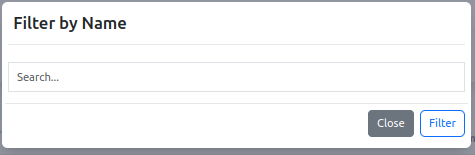
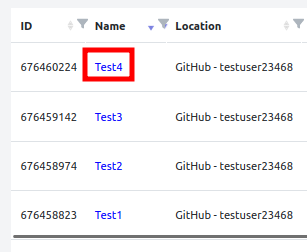
Sorting and Filtering
You can easily sort and filter your repositories by using the header.

Click on the column names to sort the columns in an ascending or descending order.
You can use the filter icons to search and filter for IDs, names, locations, etc.
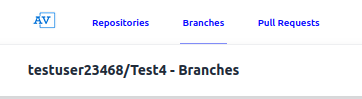
Creating branches
To create a new branch for a repo from the app, please follow these steps:
- Click on the Repository name

- Select "Branches" from the top

- Then, click on "Create a branch"

- Fill in the details and click on "Create"


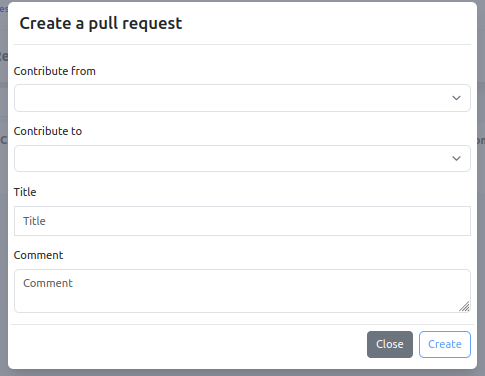
Creating pull requests
To create a new pull request for a repo from the app, please follow these steps:
- Click on the Repository name
- Select "Pull Requests" from the top

- Then, click on "Create a pull request"
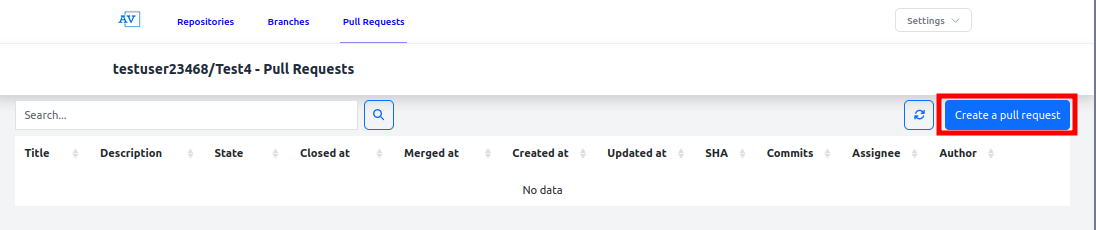
- Fill in the details and click on "Create"


FAQ
Does the app work with privately hosted GitLab instances?
No, unfortunately, our integration currently doesn't work with privately hosted GitLab instances.
Release Notes
2023-09-01
-
Initial release
No Comments